Updated August 31, 2026
How the WARDOGS Control Zone and Hot Zone Work
Read the three-team Control Zone HUD, understand the beta Hot Zone and tower flow, and make rotations that support the current win condition.
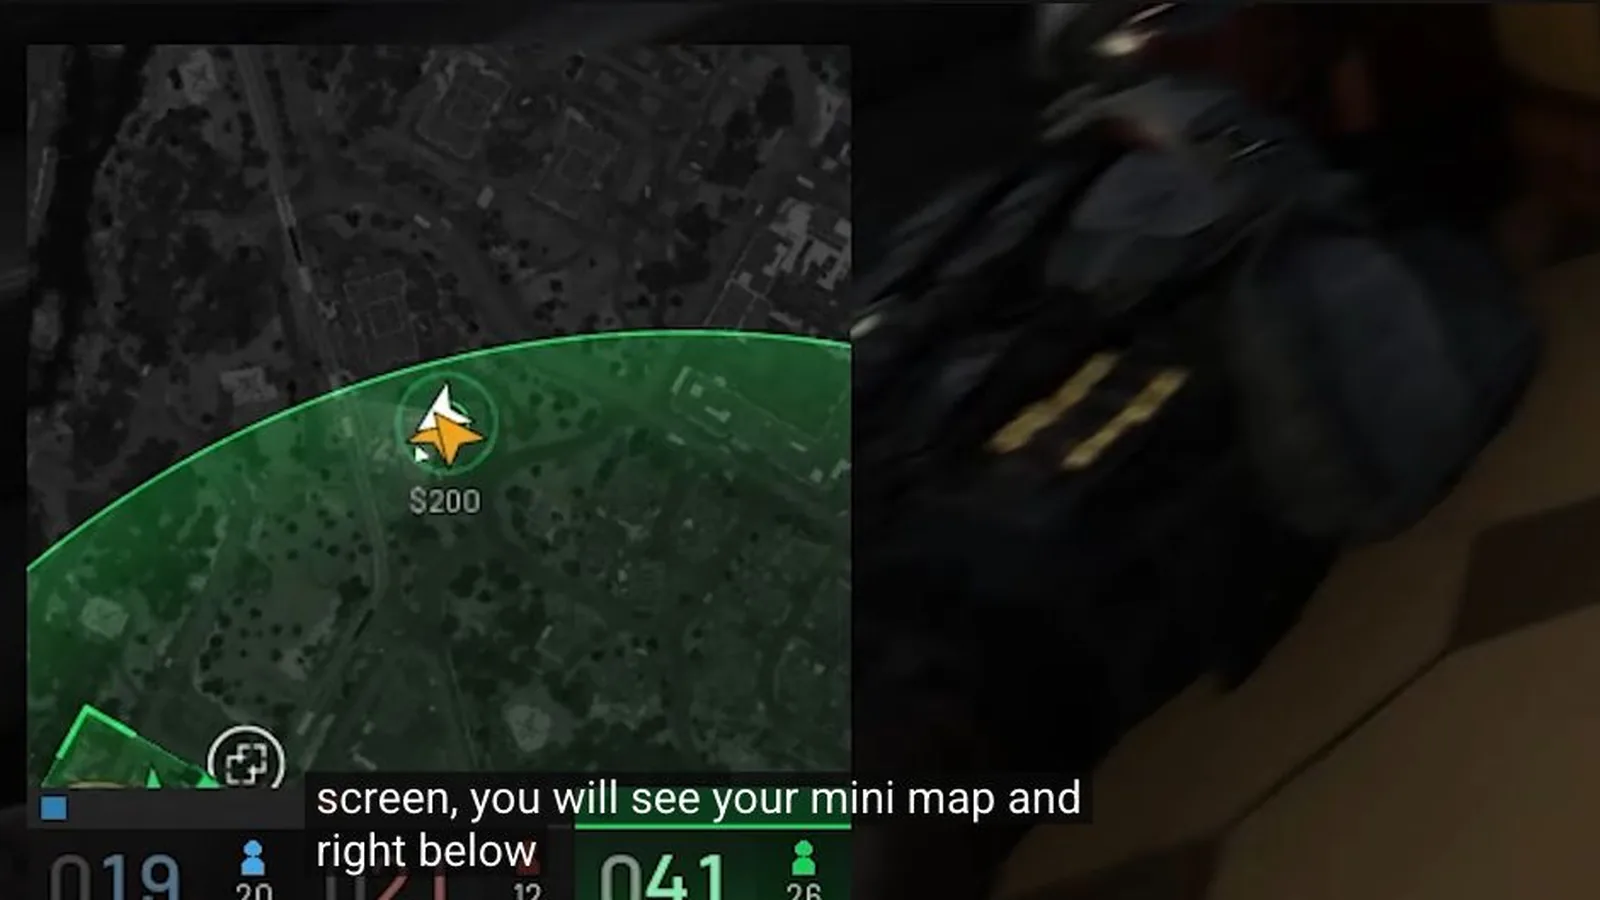
Read the HUD before the fight
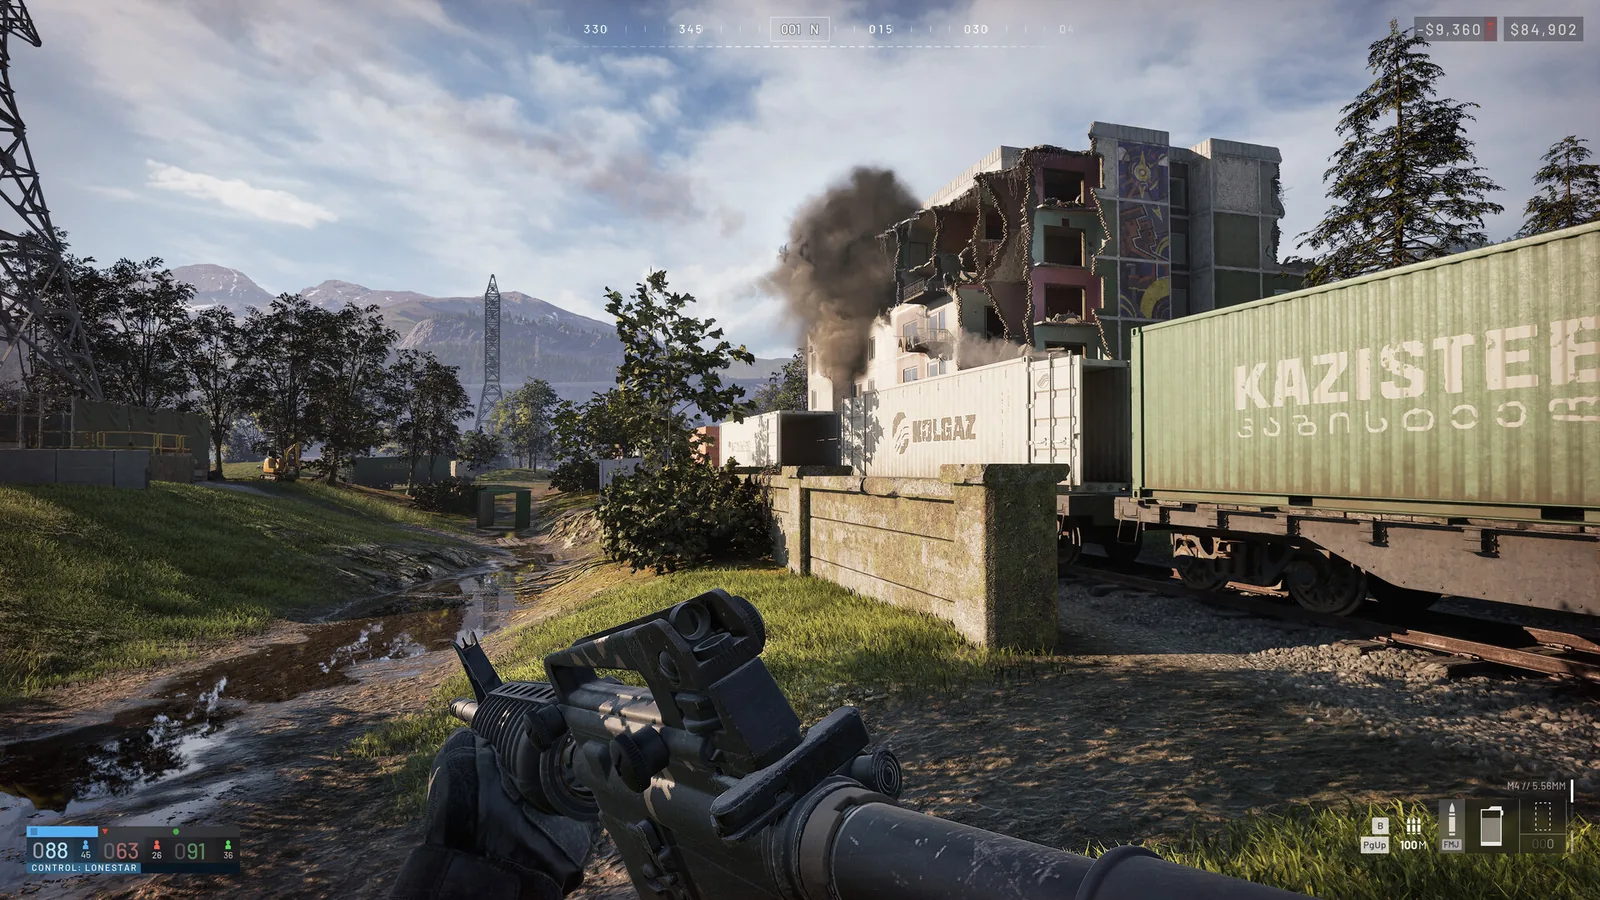
The beta HUD shows three team scores and zone presence beside the minimap. Check who is scoring and whether the active area moved before entering a long fight.
Use the live number rather than memorizing a beta timer.
Treat the Hot Zone as leverage
Beta guides describe a smaller mobile Hot Zone connected with towers and Drills. Ask whether controlling it improves the main score enough to justify the players and route.
When the live prompt differs, follow the client and record the observed score change before publishing timing advice.
Use towers without abandoning the zone
Assign a small group only when the rest of the team can maintain pressure. Check the console prompt, ownership and code progress; another squad may have completed a prerequisite.
Set a time or position condition that cancels the attempt if the third team benefits.
Confirm the win state
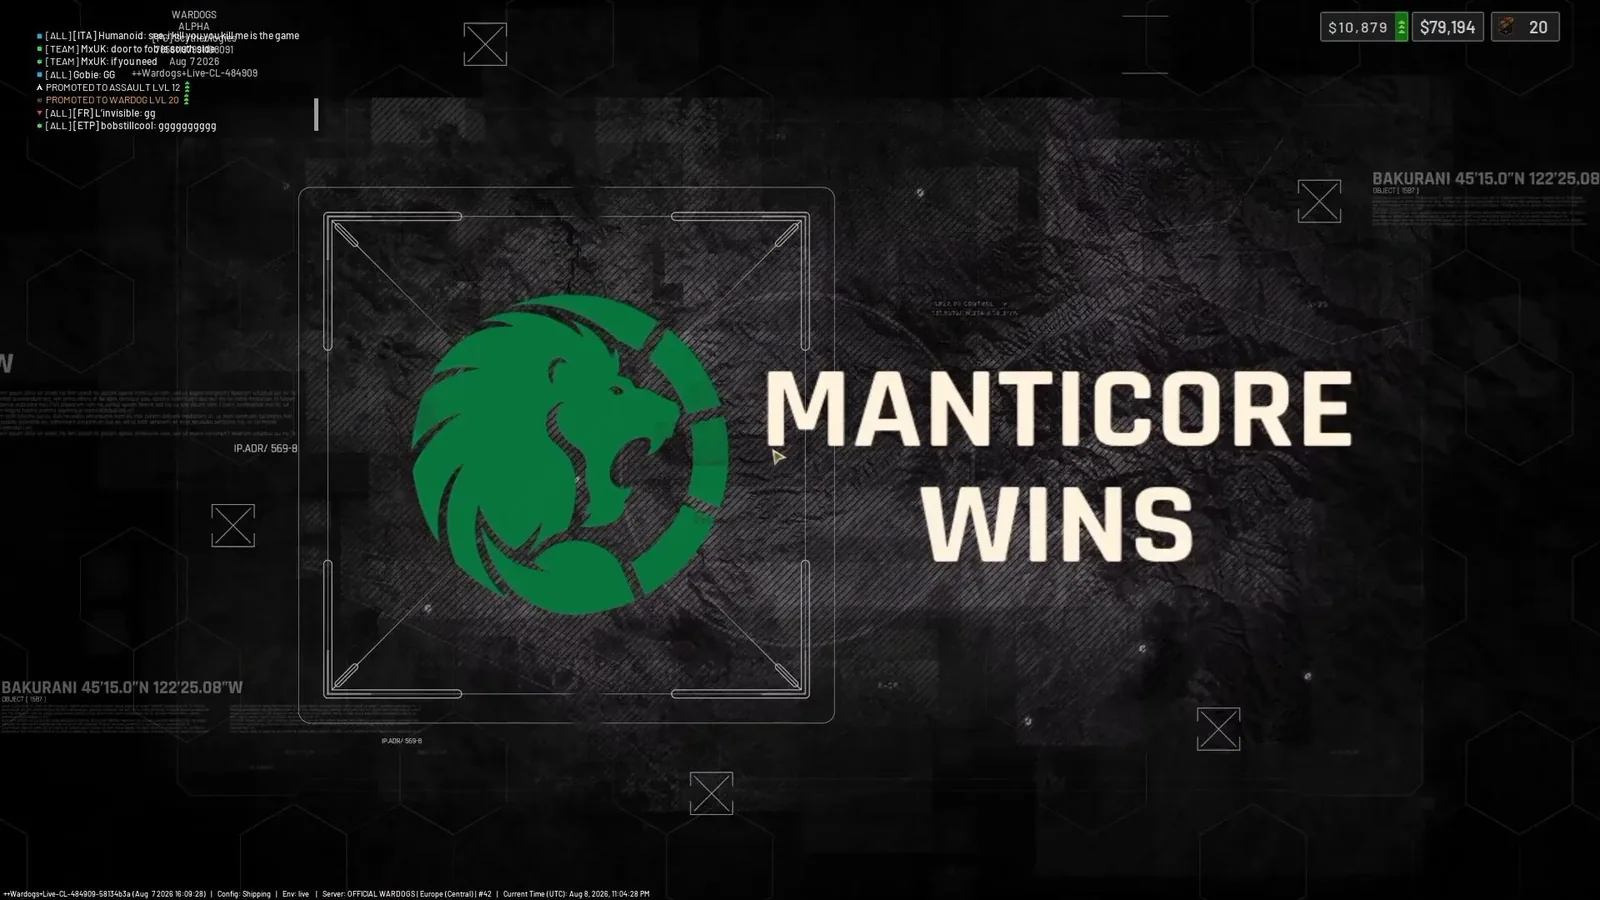
The match-end screen is the authority for which team won. Compare it with score and objective state immediately before the round ended.
The screenshot is a beta win state, not proof that scoring cadence will remain unchanged.
Sources and further reading
Official WARDOGS Steam store page →
Official WARDOGS page — Team17 →
KEEP READING