Updated September 10, 2026
How WARDOGS Drills Move the Hot Zone
Learn what a WARDOGS Drill does, why it needs fuel, how it relates to an FOB and which activation details still need a current-build check.
What does a Drill do?
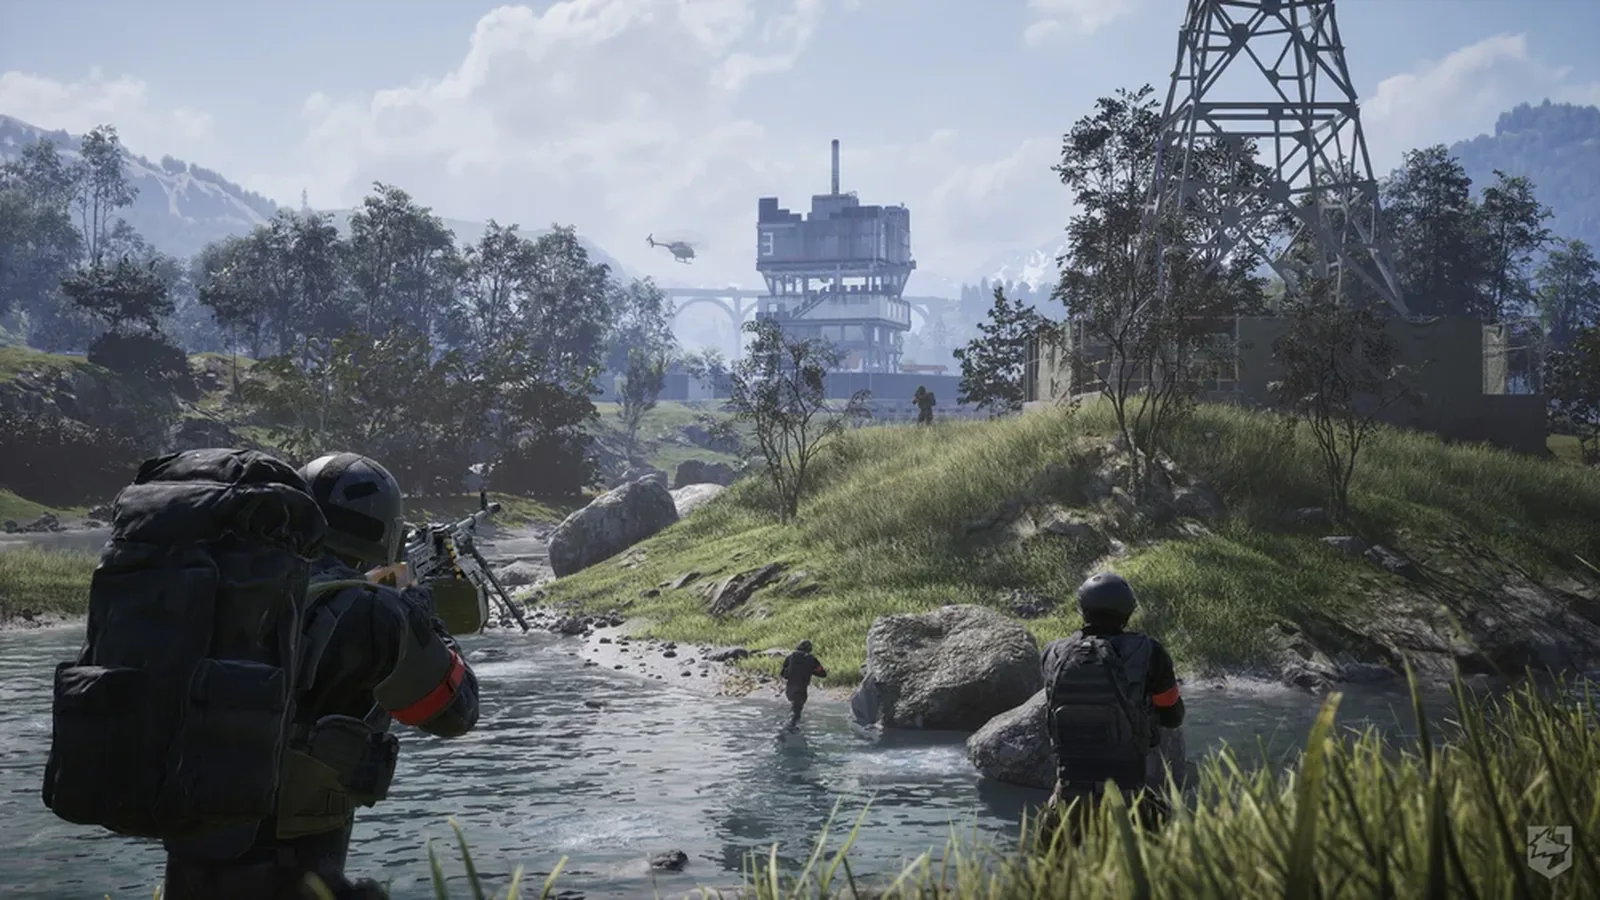
Its reported job is to move the Hot Zone toward the Drill and keep the zone near that position while the structure remains fueled and active. That can turn an FOB into a temporary focal point instead of only chasing a moving zone.
This answer comes from September playtest and community records. During this review, Steam still presented WARDOGS as a pre-purchase title, and this page did not reproduce the action in a current client.
| Question | Bounded answer | Still verify |
|---|---|---|
| What does it do? | Pulls the Hot Zone toward its position | Current movement and hold behavior |
| Where is it used? | At an FOB in community material | Current placement restrictions |
| What keeps it running? | Fuel | Type, amount and burn rate |
| When does it stop? | Community sources tie the hold to an active, fueled period | Current stop conditions and timer |
| How do I activate it? | Not reproduced in a current client | Exact input and prerequisites |
Record the current activation path
If the current build list contains a structure named Drill or Drill Rig, record its exact category, displayed support level, construction supply and placement conditions. If no matching entry appears, stop rather than substitute a similarly named handheld item.
If a built structure exposes an activation prompt or fuel display, record the label before interacting and compare the Hot Zone marker before and after. These are conditional observation steps; this page has not confirmed that those prompts or counters exist in the current client.
Why moving the Hot Zone matters
Steam describes the Hot Zone as the place to earn double cash inside the wider Control Zone fight. The reviewed community sources connect the Drill to moving that zone, but this page does not certify a current scoring multiplier, arrival time or hold duration.
Pulling the zone does not win the fight by itself. Plan who supplies the Drill, who watches the map, who holds the nearby approach and what visible result would justify another fuel run.
Treat fuel and timing values as live data
Both community sources tie the hold to an active, fueled Drill. One September guide publishes a suggested fuel amount and match-timing strategy, but those values are not repeated here because this review did not reproduce them in the current client.
Record the fuel counter before activation, the time when the Hot Zone starts moving, the time it arrives, and the state when the Drill stops. Those four observations can replace guesswork with a version-specific answer.
Set a defense and stop rule
Keep the supply route, the Drill and the nearby objective in the same plan. If defending the structure empties the wider Control Zone or fuel can no longer reach the FOB, the team should reassess rather than defend sunk supplies.
Stop or restart decisions should follow the current score ticks, Hot Zone marker and fuel state. Exact cooldown, reward and multi-Drill behavior remain unverified here.
Sources and further reading
Official WARDOGS Steam store page →
KEEP READING